When it comes to managing cryptocurrency, security is the top priority. While online wallets and exchanges offer convenience, they often put funds at risk from hacking, phishing, and custodial failures. That’s why millions of investors rely on hardware wallets like Trezor for maximum protection. If you’ve purchased a Trezor device, the official way to get started is through Trezor.io/Start.
In this guide, we’ll explain what Trezor.io/Start is, how to set up your Trezor Wallet step by step, and why it’s essential to always use the official setup process.
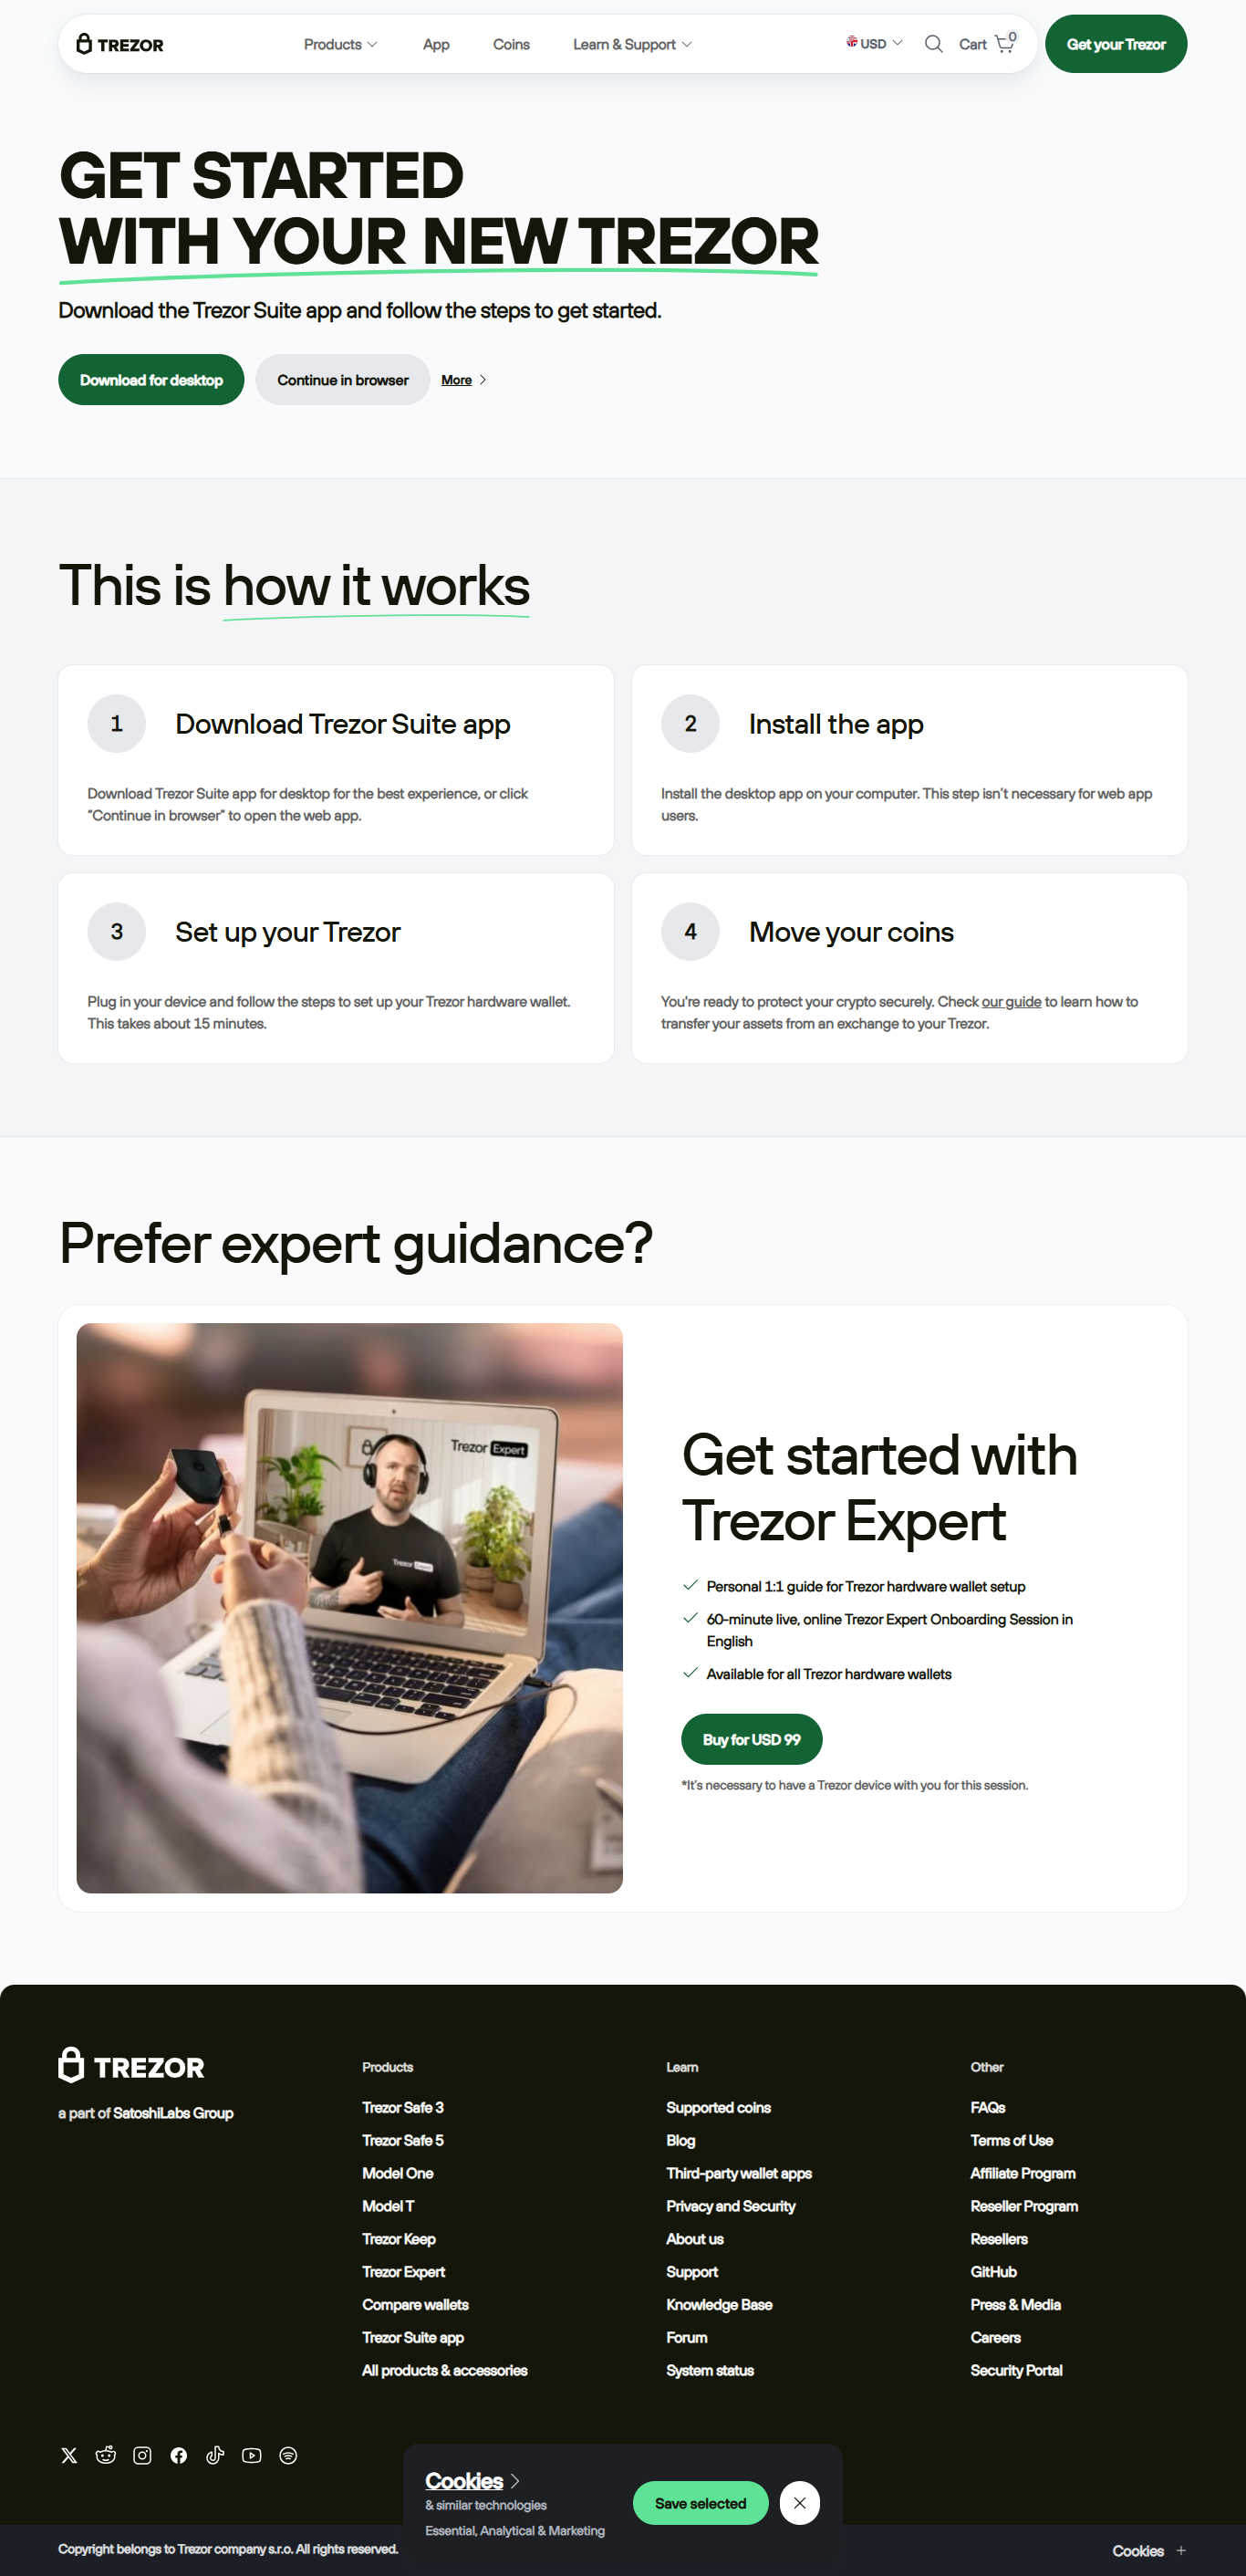
Trezor.io/Start is the official onboarding portal for all Trezor hardware wallets, including Trezor One and Trezor Model T. This setup page ensures that users install the genuine Trezor Suite app, initialize their device securely, and generate a recovery seed phrase safely.
Using Trezor.io/Start helps protect you from counterfeit devices, malicious apps, and phishing websites. It ensures you follow the recommended process directly from the creators of Trezor, SatoshiLabs, for a secure setup experience.
Here’s a step-by-step walkthrough to get your Trezor Wallet ready:
When you unbox your Trezor device, check for tamper-proof packaging. Trezor never ships devices with a pre-set PIN or recovery seed. If you find one, it’s a red flag.
Go to the official page using your browser. Always type the address manually to avoid phishing sites. Select your device model (Trezor One or Model T) to begin the process.
Download the Trezor Suite app for Windows, macOS, or Linux. This app acts as your wallet interface, allowing you to manage crypto, send and receive funds, and check balances securely.
Plug your Trezor Wallet into your computer using the provided USB cable. The app will automatically detect the device and guide you through the setup.
Set a strong PIN code to protect access to your wallet. Avoid simple combinations like “1234” or repetitive numbers.
The device will generate a 12- to 24-word recovery seed phrase. Write it down on the provided recovery sheet and store it offline in a secure place. Never take a photo, save it digitally, or share it with anyone. This seed is the ultimate backup to recover your funds if your device is lost or damaged.
Once setup is complete, you can add accounts in Trezor Suite, send and receive crypto, or explore additional features like buying, exchanging, and tracking assets.
Setting up your hardware wallet correctly is the foundation of cryptocurrency security. With Trezor.io/Start, users can be sure they are following the official, secure process for initializing their Trezor device. From installing Trezor Suite to generating a recovery seed, every step is designed to protect your digital assets from threats.